Introduction to the Art of Mini Muffin Pan Brownies
Ah, the world of baking! It’s a realm where creativity meets simplicity, and today, we’re diving into a delightful treat that’s as cute as a button and just as sweet – box brownies in a mini muffin pan. This article is your golden ticket to mastering these tiny treasures. From the basic know-how to creative twists, we’ve got it all covered. So, let’s roll up our sleeves and get ready to transform that humble box of brownie mix into bite-sized wonders!
The Charm of Mini Muffin Pan Brownies
Why Making Box Brownies in Mini Muffin Pans is a Crowd-Pleaser
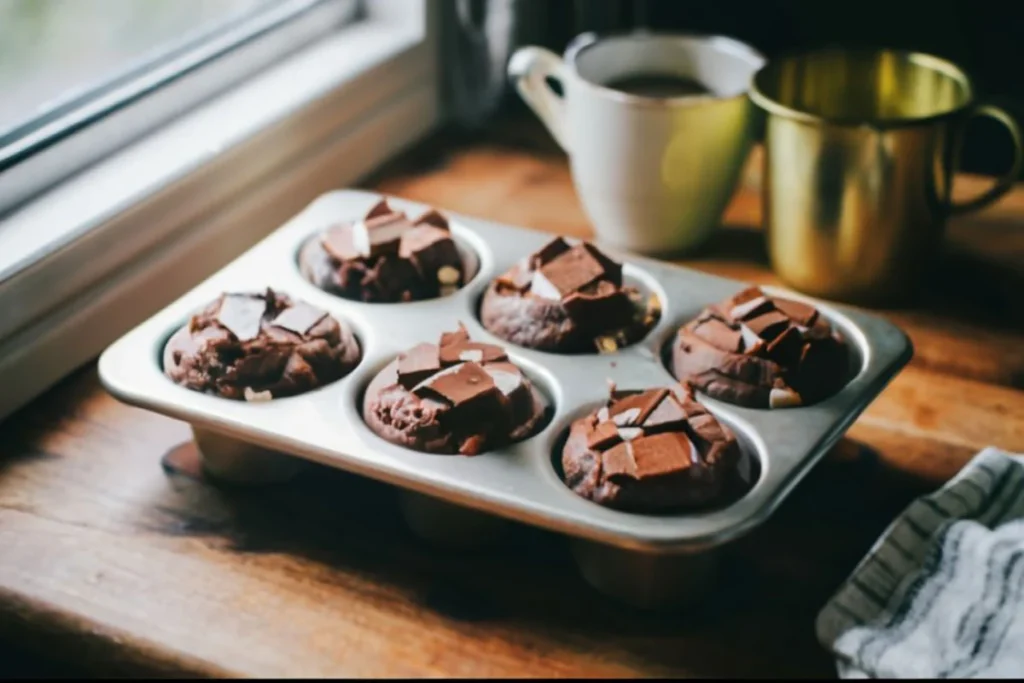
Imagine this: a tray full of tiny, fudgy brownies, each a perfect mouthful of chocolatey bliss. That’s the magic of making box brownies in a mini muffin pan. Not only are these little gems incredibly easy to whip up, but they also add a touch of elegance to any occasion. Whether it’s a casual get-together or a fancy dinner party, these mini brownie bites are sure to steal the show.
The beauty of using a mini muffin pan lies in its convenience and the adorable size of the brownies it produces. Each bite is a perfect blend of a crispy edge and a soft, gooey center – a texture that’s hard to achieve with traditional brownie bars. Plus, they’re just the right size for a quick snack without the guilt of eating a whole brownie!
Now, let’s talk about the versatility of these mini marvels. They’re like a blank canvas, waiting for you to add your creative touch. Sprinkle some nuts, swirl in some caramel, or top them with a dollop of cream – the possibilities are endless. And the best part? They’re incredibly easy to serve and eat. No cutting, no mess – just a delightful, bite-sized treat that everyone can enjoy.
For those new to baking, King Arthur Baking Company offers a comprehensive guide on understanding different types of brownie mixes and their ingredients.
In the next section, we’ll delve into the essentials – the ingredients and equipment you need to bring these mini brownie bites to life. So, stay tuned and get ready to embark on a baking adventure that’s as fun as it is delicious!
Ingredients and Equipment
Choosing the Right Brownie Mix
When it comes to making box brownies in a mini muffin pan, the first step is selecting the right brownie mix. You want a mix that promises a fudgy, moist texture, because let’s face it, that’s the heart and soul of a good brownie! Look for brands that boast rich, chocolatey flavors and have simple, straightforward instructions. Remember, the quality of your brownie mix can make or break these mini treats.
Necessary Equipment for Mini Muffin Pan Brownies
Now, onto the equipment. The star of the show is, of course, the mini muffin pan. This nifty little baking tool is what gives our brownies their adorable, bite-sized shape. Opt for a non-stick pan to ensure your brownies pop out easily without leaving half of themselves behind. If you don’t have a non-stick pan, a good spray of cooking oil or a swipe of butter will do the trick.
Besides the pan, you’ll need a mixing bowl, a spatula, and measuring cups and spoons. Precision is key in baking, so make sure you measure your ingredients accurately. A scoop or a small spoon is also handy for filling the muffin cups evenly and without mess.
With your ingredients and equipment ready, you’re all set to start the baking adventure. In the next part, we’ll dive into the step-by-step process of mixing and baking these delightful brownie bites. So, gear up for some mixing, scooping, and of course, the irresistible aroma of baking brownies!
Step-by-Step Baking Guide
Preparing Your Brownie Mix
Alright, let’s get down to business! The journey to creating perfect box brownies in a mini muffin pan begins with the mix. Crack open that box and pour its contents into your mixing bowl. Now, this is where you add your personal touch. Depending on the instructions, you’ll typically need to add water, oil, and eggs. But hey, why not jazz it up? Swap water with milk for a richer taste, or add a splash of vanilla extract for an aroma that’s just heavenly.
Perfecting Your Mini Muffin Pan Brownie Mix Texture
Mixing is an art. Overdo it, and you’ll end up with tough brownies. The trick is to mix until just combined. Use a spatula and fold the ingredients gently. You’re looking for a smooth, lump-free batter, but a few streaks of flour are totally fine. It’s all about finding that sweet spot between under-mixed and over-mixed.
Baking Brownies in a Mini Muffin Pan
Now, preheat your oven – this step is crucial. A properly heated oven ensures your brownies will bake evenly. While it’s warming up, grease your mini muffin pan if it’s not non-stick. A little cooking spray or butter will do the trick. Then, using a small scoop or spoon, fill each muffin cup about two-thirds full. This leaves room for the brownies to rise without spilling over.
Pop the pan in the oven and let the magic happen. Keep an eye on the clock! These mini brownies will bake faster than regular-sized ones. You’re aiming for a bake time that leaves them moist and fudgy. A good rule of thumb is to check them a few minutes before the recommended time on the box.
Timing and Temperature Tips
Every oven is different, so it’s important to know yours. If your oven runs hot, reduce the temperature slightly. The key to perfect mini brownie bites is to bake them just until a toothpick inserted in the center comes out with a few moist crumbs. Remember, they’ll continue to cook a bit in the pan after you take them out of the oven.
Once baked, let them cool in the pan for a few minutes. Then, gently twist each brownie bite out and let them cool completely on a wire rack. Voila! You’ve just created a batch of irresistible mini brownie bites.
Creative Variations and Substitutions
Customizing Your Brownie Bites
Now that you’ve mastered the basics of making box brownies in a mini muffin pan, it’s time to sprinkle in some creativity. These little bites are like blank canvases, just waiting for you to add your personal flair. Whether you’re a fan of classic flavors or love to experiment, there’s a world of possibilities to explore.
If you’re feeling adventurous and want to explore more brownie recipes, check out our popular Slutty Brownie Recipe, which combines layers of cookie dough, Oreos, and brownie batter for an indulgent treat.
Flavor Variations and Add-ins
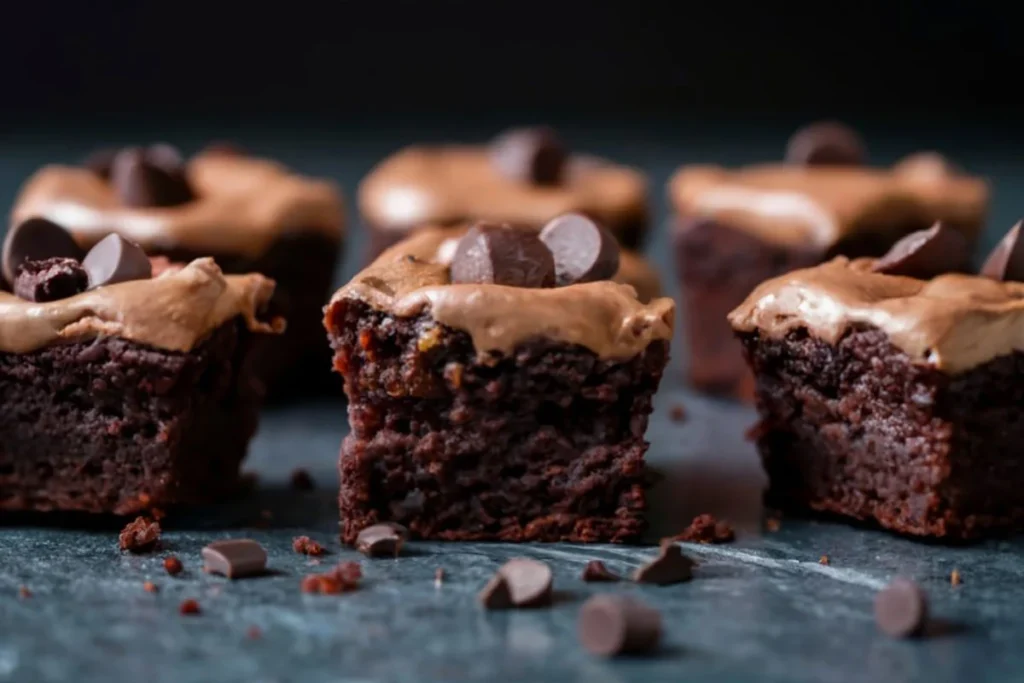
Let’s start with flavor variations. How about swirling in some peanut butter for a nutty twist? Or, if you’re feeling adventurous, a pinch of chili powder can add an exciting kick. For those with a sweet tooth, mixing in chunks of your favorite chocolate bar will create gooey pockets of chocolatey goodness. And for a festive touch, try adding crushed peppermint candies or a sprinkle of cinnamon.
Don’t forget about toppings! A drizzle of caramel sauce, a dusting of powdered sugar, or a spoonful of whipped cream can elevate your brownie bites to a whole new level. The key is to add these toppings while the brownies are still warm, so they melt slightly and blend into the brownie.
Substitutes for Dietary Restrictions
Catering to dietary restrictions or preferences? No problem! You can easily substitute ingredients to make your brownie bites gluten-free, vegan, or lower in calories. Use a gluten-free brownie mix, swap eggs for applesauce or a flax egg, and replace the oil with Greek yogurt for a healthier version. These substitutions not only make your brownies more inclusive but can also add an interesting twist to the flavor and texture.
In the next part, we’ll dive into the art of serving and presenting these delightful brownie bites. Get ready to impress your guests with not just the taste but also the look of your mini treats!
Presentation and Serving Ideas
Serving and Presenting Brownie Bites
You’ve baked your box brownies in a mini muffin pan, infused them with your unique twist, and now it’s time for the grand finale – presenting them in a way that’s as appealing to the eyes as they are to the taste buds. The right presentation can turn these simple treats into a gourmet experience.
Creative Serving Suggestions
First, consider the occasion. Are these brownie bites for a casual family gathering or a more formal event? For a laid-back setting, a rustic platter or a colorful dish can create a homely and inviting look. Arrange the brownies in a circular pattern or stack them for a touch of whimsy.
For more formal occasions, step up your game with elegant serving ideas. Place each brownie bite in a mini cupcake liner and arrange them on a tiered dessert stand. This not only looks sophisticated but also makes it easy for guests to pick up and enjoy the treats.
Don’t forget the power of garnishes. A sprinkle of edible gold dust, a few fresh berries, or a mint leaf can add a pop of color and elevate the overall presentation. If you’re serving brownie bites at a themed party, match the garnishes to the theme for a cohesive and impressive display.
Another fun idea is to turn these brownie bites into mini desserts. Top them with a scoop of ice cream, a dollop of whipped cream, or a drizzle of your favorite sauce. You can even pair them with a shot glass of milk – a nostalgic nod to the classic milk and brownies combo.
For those who love pairing their brownie batter with cookies, our Toll House Cookie Recipe Guide offers the perfect cookie recipe to complement your brownie indulgence.
In the next part, we’ll explore how to store these brownie bites to keep them fresh and delicious, ensuring you can enjoy them to the fullest.
Storage and Freshness

Storing Your Mini Brownie Bites
After enjoying the process of making and serving your box brownies in a mini muffin pan, it’s important to know how to store any leftovers properly. Proper storage is key to maintaining the freshness and flavor of your brownie bites, ensuring they remain just as irresistible as when they first came out of the oven.
Tips for Maintaining Freshness
The first rule of thumb is to let the brownie bites cool completely before storing them. Storing them while they’re still warm can lead to condensation, making them soggy. Once they’re cool, choose an airtight container to keep them fresh. If you’re stacking the brownies, place a sheet of parchment paper between each layer to prevent them from sticking together.
Room temperature is ideal for keeping your brownie bites fresh for a few days. Just make sure the container is sealed tightly and kept in a cool, dry place. If you’re in a warmer climate or want to extend their shelf life, you can store them in the refrigerator. This will keep them fresh for about a week.
For longer storage, freezing is an excellent option. Wrap each brownie bite individually in plastic wrap and then place them in a freezer-safe bag or container. They can be frozen for up to three months. When you’re ready to enjoy them, simply thaw them at room temperature or give them a quick zap in the microwave for a warm treat.
Remember, the key to maintaining the perfect texture and flavor of your brownie bites is in how you store them. With these tips, you can enjoy your delicious creations for days (or even months) after baking!
For expert advice on storing baked goods to ensure lasting freshness, visit Martha Stewart’s guide to storing desserts.
Frequently Asked Questions
As we wrap up our journey on making box brownies in a mini muffin pan, let’s address some common questions that might pop up in your mind. These FAQs are here to help you perfect your brownie-baking game and ensure every batch turns out just right.
- How long should brownies bake in a mini muffin pan?
- Typically, brownies in a mini muffin pan bake faster than in a regular pan. Aim for about 10-15 minutes, but start checking around the 10-minute mark. The goal is for a toothpick inserted in the center to come out with a few moist crumbs.
- Can I use homemade brownie batter instead of a box mix?
- Absolutely! If you prefer homemade batter, go for it. Just follow the same portioning and baking guidelines for the mini muffin pan. Homemade batter can offer more flexibility with flavors and ingredients.
- How do I prevent brownies from sticking to the mini muffin pan?
- To prevent sticking, generously grease your mini muffin pan with butter or non-stick cooking spray. If you’re using a non-stick pan, a light coating will suffice. Also, letting the brownies cool for a few minutes before removing them helps them come out cleaner.
- Can I add mix-ins to the brownie batter?
- Definitely! Feel free to add nuts, chocolate chips, or dried fruit to your batter. Just be mindful of the size of your add-ins, as the brownie bites are small.
- Is it possible to make these brownies healthier?
- Yes, you can make substitutions like using applesauce or mashed bananas in place of oil, or using a sugar substitute. There are also many gluten-free and low-fat brownie mixes available that work well in a mini muffin pan.
Curious about the quirky name of Slutty Brownies? Find out the story behind it in our article, Why Are They Called Slutty Brownies?.
Conclusion
In the delightful world of baking, transforming a simple box of brownie mix into adorable mini muffin pan brownies is both an art and a joy. This journey from selecting the right mix to creatively customizing and perfectly presenting your brownie bites shows that great things indeed come in small packages. Whether you’re a seasoned baker or a beginner, these bite-sized treats are a testament to the magic that happens when simplicity meets creativity. So, grab your mini muffin pan, unleash your inner baker, and let the sweet aroma of homemade brownies fill your kitchen and heart!